🎉 Hooray! We recently released an iOS app called Project September.
This application is built with nice tech stack including React Native and GraphQL. The backend is powered by Scala, a robust functional language, and we use many other cool techs.
This fashion app needed some fancy features: one was demo-ed at last React.js conference with the ability to do localized blur on text over images.
We have developed gl-react to abstract GL in React paradigm – with two companion libraries gl-react-dom and gl-react-native that glues React Native with OpenGL.
Let's first see 2 demos of OpenGL usage in our app, and then we'll write a bit about how it's hard to get animations right.
The Text Over Image blur
The goal

How it works

+ (layer)

=

Under the hood
- The shadow intensity, size, position, is procedurally generated, we can adjust that. The shadow color is the blurry image color
- The text color is determined by the color picked in blurred image at the shadow middle position. If the
monochromevalue of that color is lower than 60%, text will be white, otherwise text will be black.
Here is more detail on how the shadow is generated:
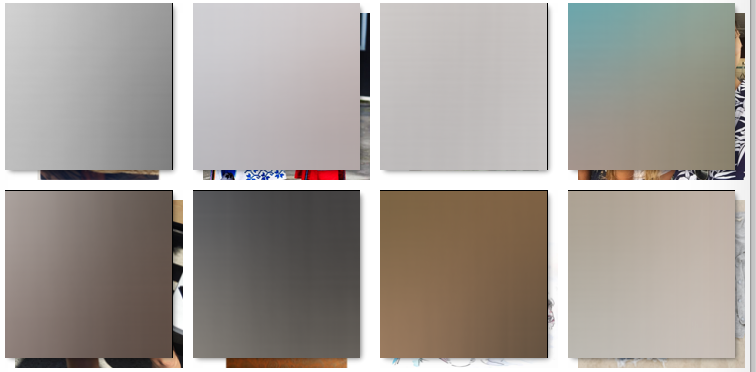
* (multiply alpha)
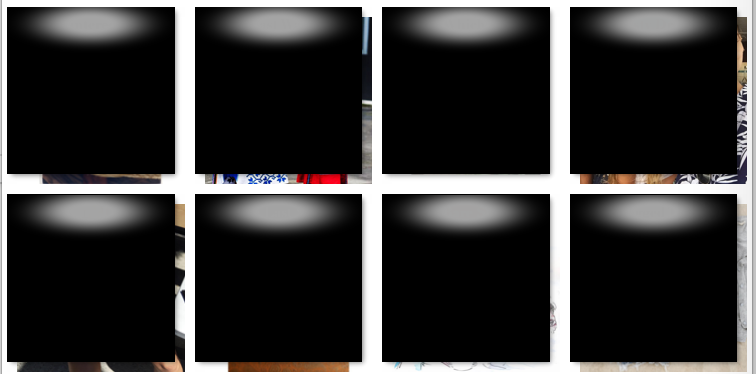
=
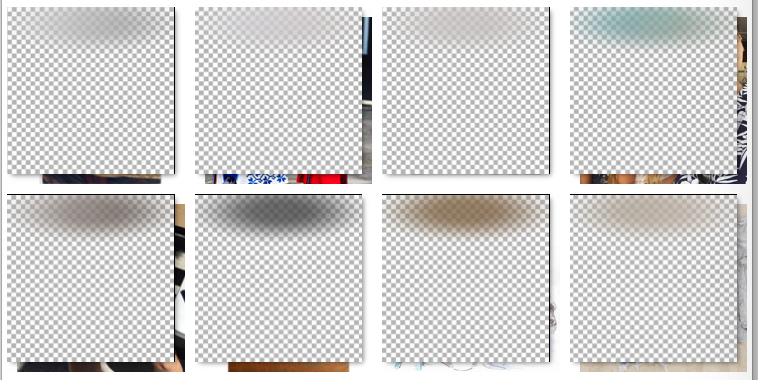
+ (layer)
=

Fragment shader
precision highp float;
varying vec2 uv;

uniform sampler2D img;
uniform sampler2D imgBlurred;
uniform sampler2D txt;

const vec2 shadowCenter = vec2(0.5, 0.9);
const vec2 shadowSize = vec2(0.6, 0.2);
float shadow () {
  return 0.8 * smoothstep(1.0, 0.2, distance(uv / shadowSize, shadowCenter / shadowSize));
}
float monochrome (vec3 c) {
  return 0.2125 * c.r + 0.7154 * c.g + 0.0721 * c.b;
}
vec3 textColor (vec3 bg) {
  return vec3(step(monochrome(bg), 0.6));
}

void main () {
  vec4 bg = mix(texture2D(img, uv), texture2D(imgBlurred, uv), shadow());
  vec4 fg = vec4(textColor(texture2D(imgBlurred, shadowCenter).rgb), 1.0);
  float fgFactor = 1.0 - texture2D(txt, uv).r;
  gl_FragColor = mix(bg, fg, fgFactor);
}
Integration
<GL.Node shader="{shaders.textOverImage}">
  <GL.Uniform name="img"> {img} </GL.Uniform>
  <GL.Uniform name="imgBlurred">
    <Blur factor="{20}" passes="{6}" width="{width}" height="{height}">
      {img}
    </Blur>
  </GL.Uniform>
  <GL.Uniform name="txt">
    <Text style="{titleStyle}">{title}</Text>
  </GL.Uniform>
</GL.Node>
Uploading Thumbnail
This is a video record of our app:
The uploading spinner effect is implemented with an OpenGL shader. This was not easy to avoid all the blinks we used to have. We have different components to render each step (uploading animation / uploaded final image) and the uploaded image needs to be downloaded again to not render as white. One solution could be to use a monolithic "thumbnail" component that do everything. We wanted to keep independent components. Hopefully, everything now works seamlessly with some "double buffering"/swapping mechanism we will explained at the end of this article.
Animate all the things
Designing animations
Fluid, meaningful animations are essential to the mobile user experience. — React Native Animations documentation
It's not easy to design how an application should animate, to define transitions between all the different possible single state and edge-cases of your app. Designing animations, as part of UX design, is a time consuming work but it tends to be underestimated while being essential for moving from a good app to a very good app. That tends to be the last 20% remaining missing parts of your app that are the hardest but that makes the 80% of a great UX.
Implementing animations
Not only it's hard to have figured out the animations (to find the optimal UX) but it can also be quite challenging to implement them in a maintainable and robust way. Turns out most of the times, your code is not ready for it and it implies big refactoring.
in React Native
React Native Animations API makes it easier: you just have to switch to one of the Animated.* component. In gl-react we even support Animated values to flow into the shaders uniforms so it's very convenient to animate a GL effect.
That said, React Native Animations is not the ultimate silver bullet. There are things Animations won't solve for you. React Native Animated is still a low level API, it's also imperative and not opinionated on how you should turn it into descriptive paradigm.
I guess what's generally hard with animations in React functional/descriptive paradigm ("always render()ing Virtual DOM again" idea) is to figure out how to not "break" your animations. For instance, ugly animation interruption could happen if you render() a different component: because it forces the component to unmount. If you have an animation happening, you might not want it to stop, or at least you might want to smoothly customize the transition to the new state.
That's something CSS transitions might help solving, but in React Native we don't have them, so it's not so trivial.
our current solution
We have built our own abstraction to solve this problem: a Component decorator manages to kill a lot of flashes and blinks cases (e.g. images not ready yet, animation getting interrupted).
What the decoration solves: when moving from A to B, you want B to be ready (e.g. images are loaded), you also want A to have finish its (animated) work.
A component can express it needs some time to mount (e.g. an image to load!) OR that it needs some time to unmount (e.g. an "animating out"). This will basically hold the rendering to happen:
The decoration can implement "double buffering" on a Component: render() function keeps rendering Component with the previous "stable props" but will also render in background another instance of Component with the next props. When that next props Component is ready and loaded, we can successful swap it to be the new "stable props".
You have the basic idea, the decorator is not so trivial to implement as it also needs to handle some edge-cases, for instance if the decorator receives new props during the transition. We also have a minimal way to express "styles transitions" similarly to how CSS Transitions works.